Complete Guide to All Features🔗
Welcome to our comprehensive online document processing tool suite! This guide will walk you through all five core features, helping you efficiently handle various document and image processing needs.
Table of Contents🔗
PDF Compression🔗
Feature Overview🔗
PDF compression reduces file size while maintaining document quality. Perfect for email attachments, website uploads, or storage optimization.
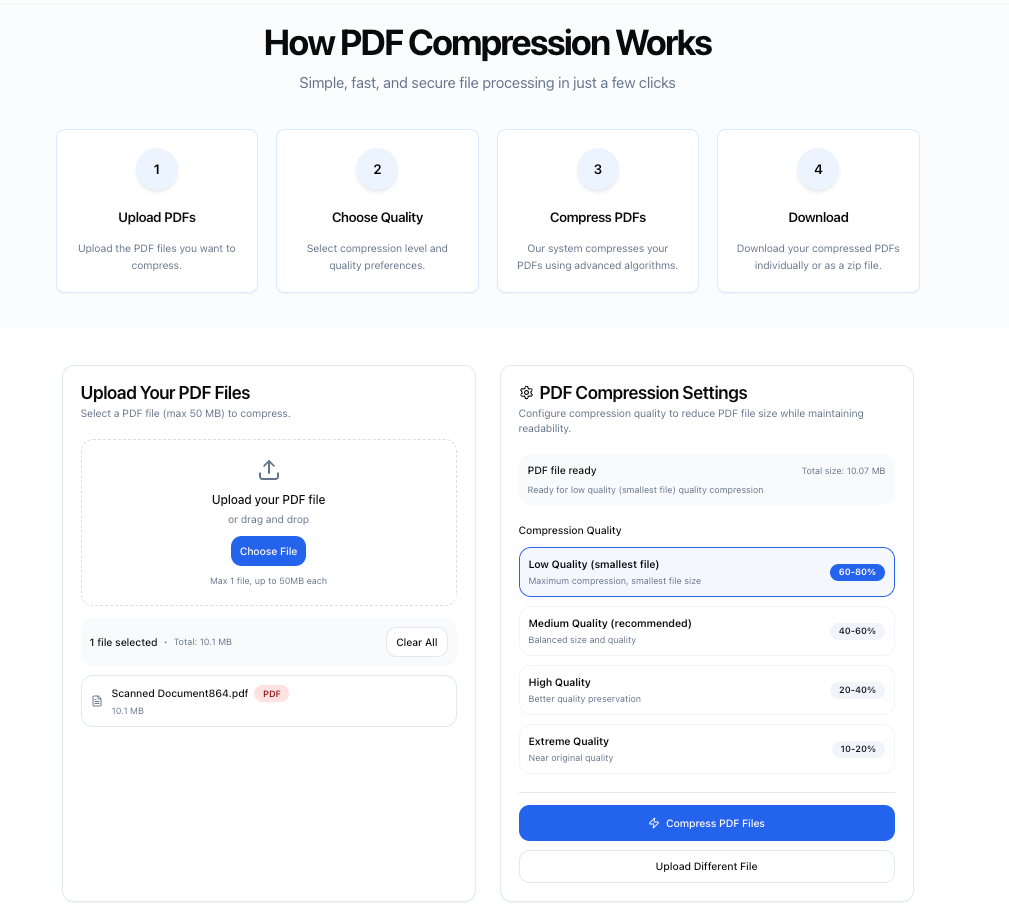
Detailed Operation Steps🔗
Step 1: Upload PDF File🔗
- Visit the PDF Compression page
- Click "Choose File" or drag and drop PDF files to the upload area
- Supports files up to 100MB
- System displays filename and original size

Step 2: Select Compression Quality🔗
Choose the appropriate compression level based on your needs:
- High Quality: 20-30% compression rate, suitable for printing
- Medium Quality: 40-50% compression rate, perfect for online sharing
- Low Quality: 60-70% compression rate, ideal for archiving
Step 3: Start Compression🔗
- Click "Start Compression" button
- Wait for the progress bar to complete (typically 10-30 seconds)
- View compressed file size and compression ratio
Step 4: Download File🔗
- Click "Download" button to save the compressed PDF
- File saves to your default download folder
- Files are retained on server for 24 hours
Professional Tips🔗
- PDFs with many images compress best
- Text-only PDFs have limited compression potential
- Try high quality first, then adjust if needed
PDF Merging🔗
Feature Overview🔗
Combine multiple PDF files into a single document for easier management and sharing.
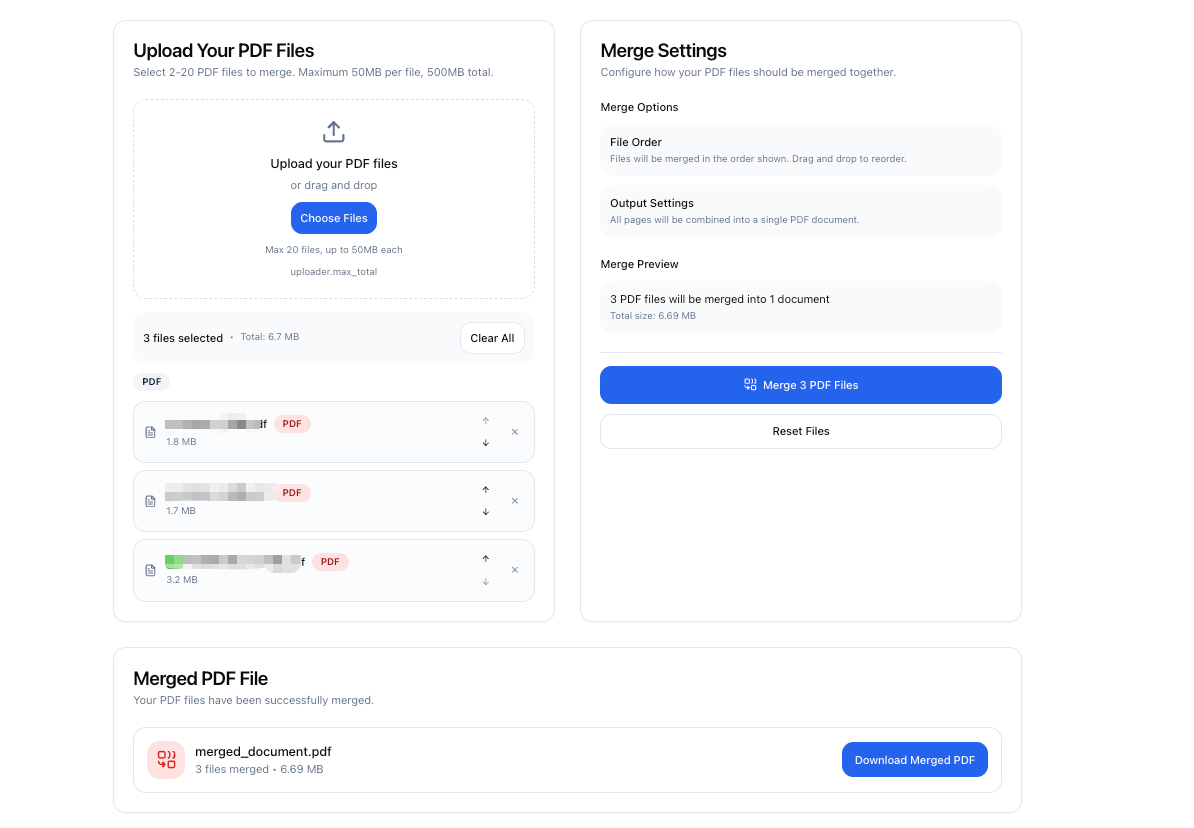
Operation Process🔗
Step 1: Add PDF Files🔗
- Visit the PDF Merge page
- Click "Add Files" to select multiple PDFs at once
- Or add files individually
- Supports merging up to 20 files simultaneously

Step 2: Adjust Order🔗
- Review file list
- Drag cards to rearrange order
- Click "×" to remove unwanted files
Step 3: Execute Merge🔗
- Click "Merge PDFs" button
- Wait for process completion
- Speed depends on file count and size
Step 4: Download Merged File🔗
- Click "Download Merged File"
- Default filename is "merged_document.pdf"
- Can rename after download
Best Practices🔗
- Ensure all PDF pages have consistent orientation
- Large file merges require more time
- Preview PDF content before merging
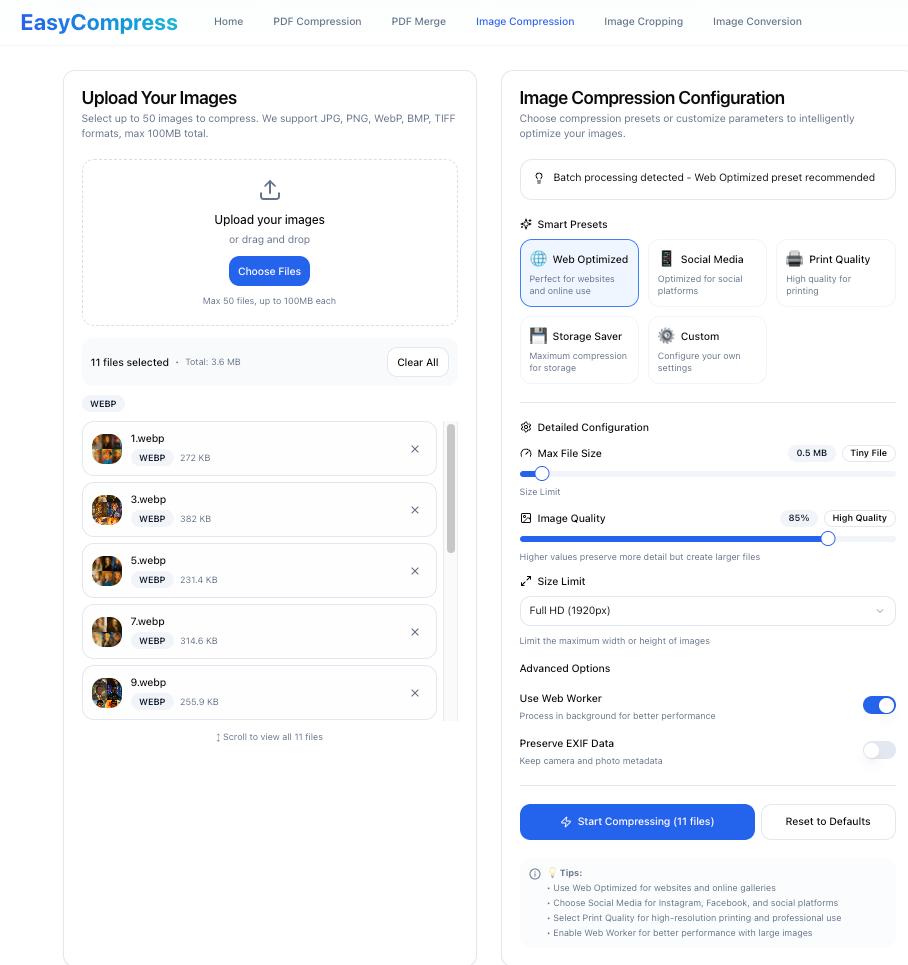
Image Compression🔗
Feature Overview🔗
Reduce image file size while maintaining visual quality. Perfect for web optimization and email attachments.
Usage Instructions🔗
Step 1: Upload Images🔗
- Visit the Image Compression page
- Click upload area or drag and drop images
- Supports JPG, PNG, WebP formats
- Batch upload multiple images

Step 2: Configure Settings🔗
Choose compression options:
- Smart Compression: Automatic optimization (recommended)
- Custom Quality: Manual control (1-100)
- Resize: Optionally adjust image dimensions
Step 3: Batch Processing🔗
- Click "Start Compression"
- View processing progress for each image
- Compare before and after results
Step 4: Download Images🔗
- Download each image individually
- Or click "Download All" for ZIP archive
- Get processed files immediately
Optimization Suggestions🔗
- PNG format has lower compression ratio than JPG
- Quality 85 typically balances size and clarity
- Process up to 50 images at once
Image Format Conversion🔗
Feature Overview🔗
Convert between various image formats including JPG, PNG, WebP, HEIC, and more.
Operation Process🔗
Step 1: Select Source Files🔗
- Visit the Image Conversion page
- Upload images to convert
- Supports batch conversion

Step 2: Choose Target Format🔗
Select from common formats:
- JPG: Best for photos, smaller files
- PNG: Supports transparency, ideal for icons
- WebP: Modern format, high compression
- Others: Choose based on your needs
Step 3: Optional Settings🔗
- Quality adjustment (varies by format)
- Preserve metadata
- Transparency handling
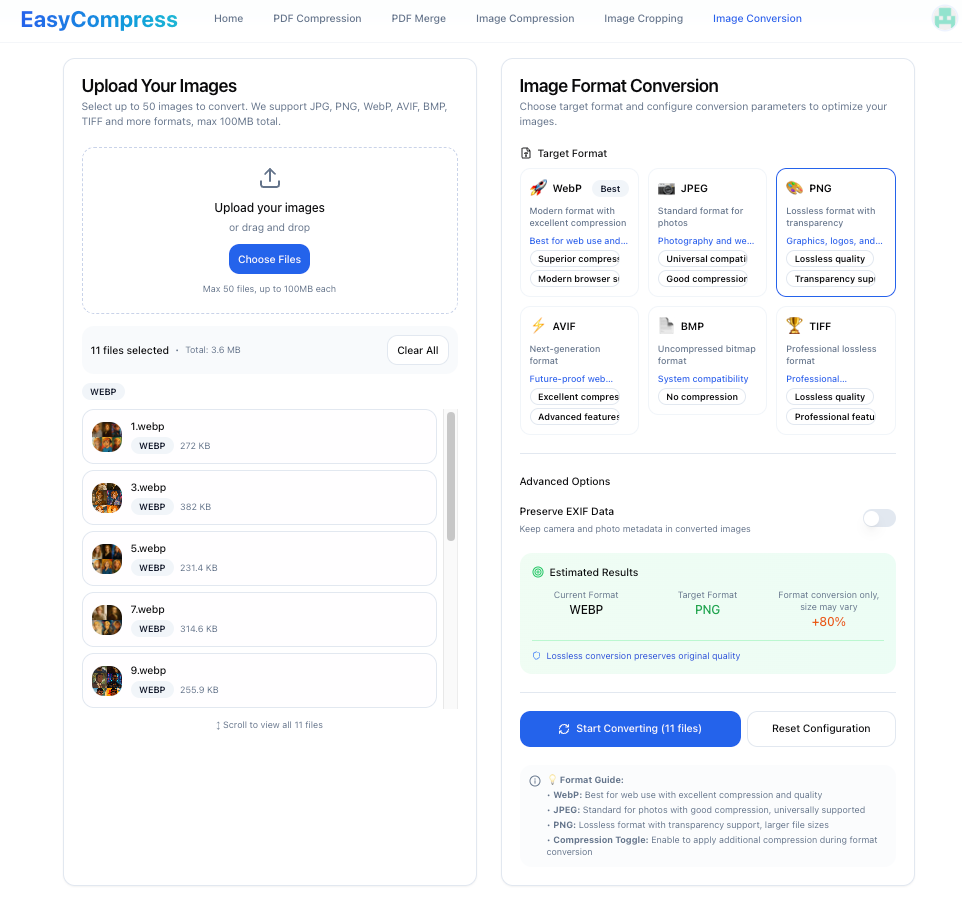
Step 4: Convert and Download🔗
- Click "Start Conversion"
- Wait for processing completion
- Download converted files
Format Recommendations🔗
- HEIC to JPG for iPhone photo sharing
- PNG to WebP reduces size by 30-50%
- Consider transparency requirements
Image Cropping🔗
Feature Overview🔗
Precisely crop images with custom dimensions and preset ratios.
Usage Guide🔗
Step 1: Upload Image🔗
- Visit the Image Cropping page
- Upload image to crop
- Image displays in editor
Step 2: Select Crop Mode🔗
Choose cropping method:
- Free Crop: Manual adjustment
- Fixed Ratio:
- 1:1 (Square)
- 4:3 (Standard photo)
- 16:9 (Widescreen)
- Custom ratio
- Fixed Size: Exact pixel dimensions
Step 3: Adjust Crop Area🔗
- Drag crop box to desired position
- Use corners to resize
- Real-time preview effect

Step 4: Export Result🔗
- Confirm crop area
- Click "Apply Crop"
- Download cropped image
Cropping Best Practices🔗
- Use grid lines for composition
- Use fixed size for ID photos
- Use preset ratios for social media
Common Questions🔗
Q: How long are processed files retained?🔗
A: All files are automatically deleted after 24 hours to protect your privacy.
Q: What are the file size limits?🔗
A:
- PDF files: Maximum 100MB per file
- Image files: Maximum 20MB per file
- Batch processing: Total not exceeding 200MB
Q: Is the processing secure?🔗
A: Yes! All transfers use HTTPS encryption, and files are automatically deleted after processing.
Q: Are there batch processing limits?🔗
A:
- PDF merge: Maximum 20 files
- Image processing: Recommended maximum 50 images
Q: Which browsers are supported?🔗
A: We recommend using the latest versions of Chrome, Firefox, Safari, and Edge browsers.
Professional Tips🔗
- Optimize Workflow: Combine features - crop first, then compress
- Batch Operations: Use batch processing to save time
- Preserve Originals: Always backup original files before processing
- Quality Selection: Choose appropriate quality based on use case
- Preview First: Preview processing effects before downloading
Advanced Techniques🔗
PDF Optimization Strategy🔗
- For Printing: Use high quality compression (20-30%)
- For Email: Medium compression (40-50%) under 10MB
- For Archiving: Maximum compression (60-70%) for storage
Image Processing Workflow🔗
- Crop First: Remove unnecessary parts
- Convert Format: Choose optimal format
- Compress Last: Apply final size optimization
Performance Tips🔗
- Process similar files together
- Use appropriate quality settings
- Download results promptly
Technical Details🔗
Supported Formats🔗
PDF Processing:
- Input: PDF 1.4 - 1.7
- Output: Optimized PDF
Image Formats:
- Input: JPG, JPEG, PNG, WebP, HEIC, BMP, GIF
- Output: JPG, PNG, WebP
Processing Capabilities🔗
- Maximum file size: 100MB (PDF), 20MB (images)
- Concurrent processing: Up to 10 files
- Processing speed: 1-5 seconds per MB
Quality Settings🔗
PDF Compression:
- High: 85-95% quality retention
- Medium: 70-85% quality retention
- Low: 50-70% quality retention
Image Compression:
- Lossless: PNG optimization
- Lossy: JPG quality 1-100
- Smart: Automatic optimization
Use Cases🔗
For Business🔗
- Reports: Compress annual reports for email
- Presentations: Optimize slides for web sharing
- Marketing: Batch process product images
For Education🔗
- Assignments: Merge multiple PDFs for submission
- Notes: Compress lecture materials
- Research: Organize document collections
For Personal Use🔗
- Photos: Convert and optimize vacation photos
- Documents: Compress scanned documents
- Social Media: Crop images for various platforms
Get Support🔗
Need help? We're here to serve you:
- Email: mrliang8816@gmail.com
Thank you for using our service! We hope this guide helps you process documents and images more efficiently.
Additional Resources🔗
Last updated: August 31, 2025